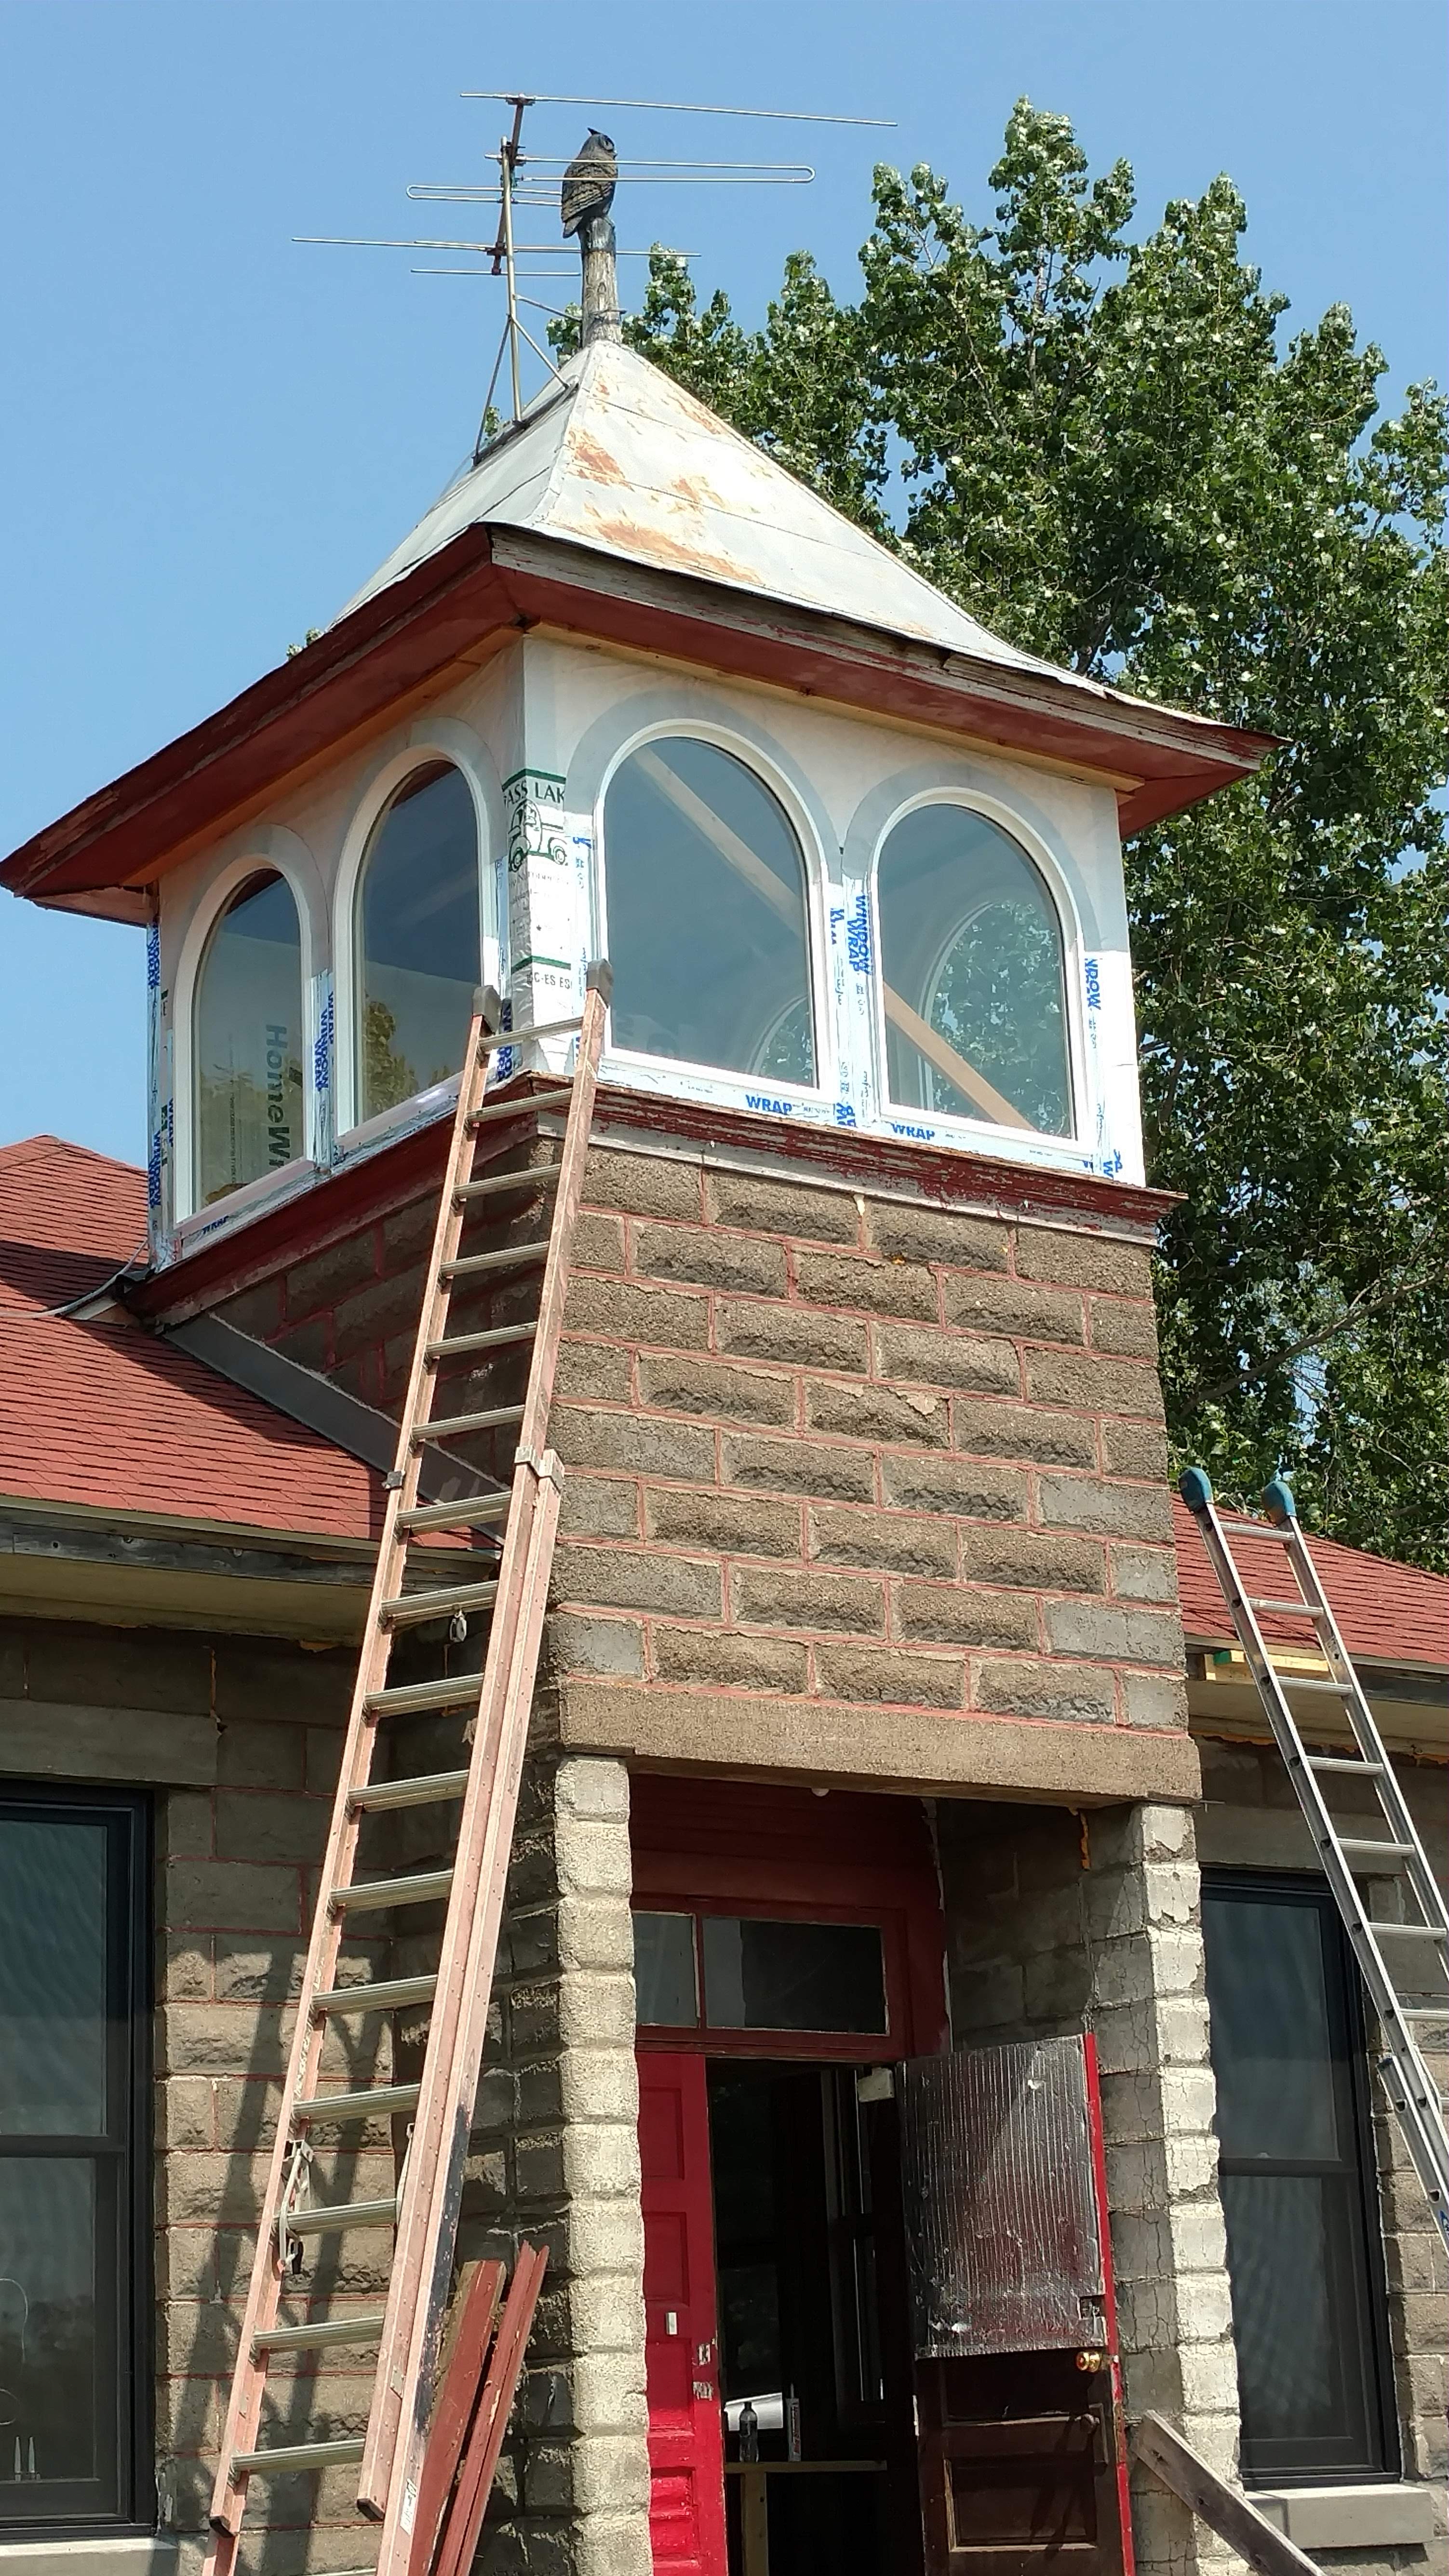
Ta-da! Jumping right to the end, the windows are in!!
We started with demo. Looks pretty simple, yes? Just remove the rubber roofing, and away we go. Not so fast! Under the rubber roofing was asphalt that was VERY well tarred and nailed down.
And under that was a full tin ceiling, also very well glued. Kinda neat printing on the back.The tin itself contained a hidden message….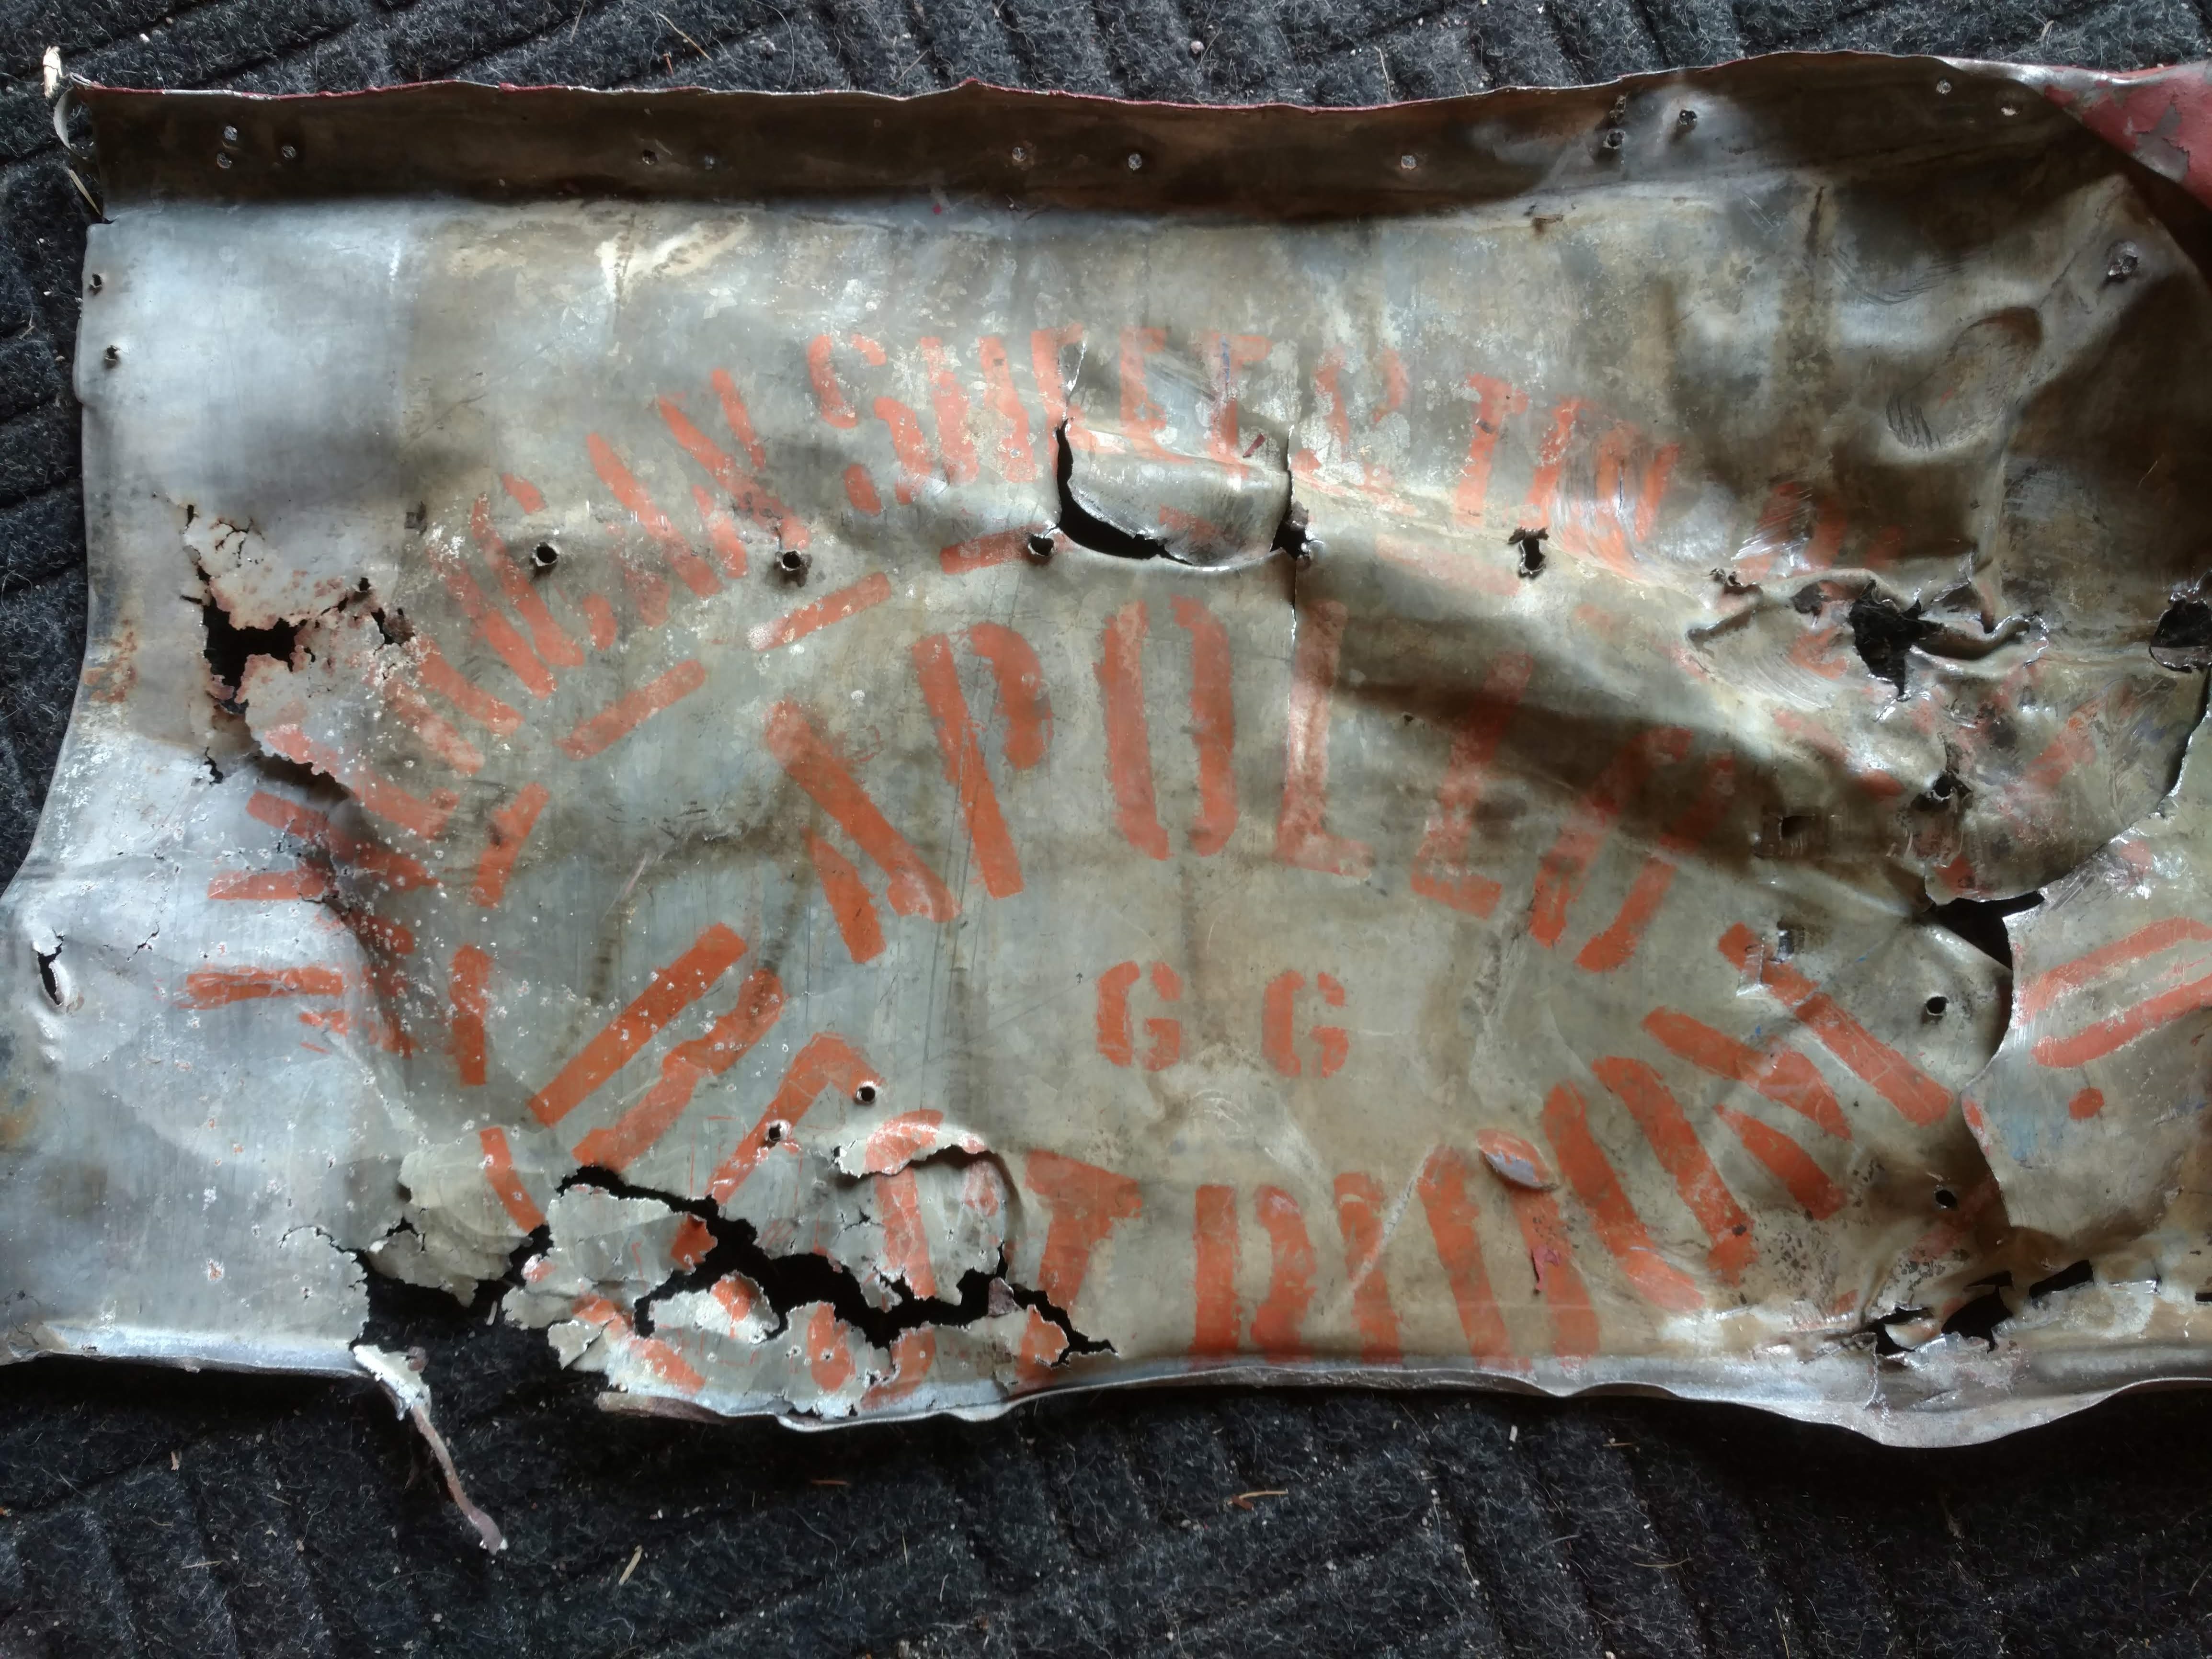 Or maybe it just says ‘Tin for Roof’?
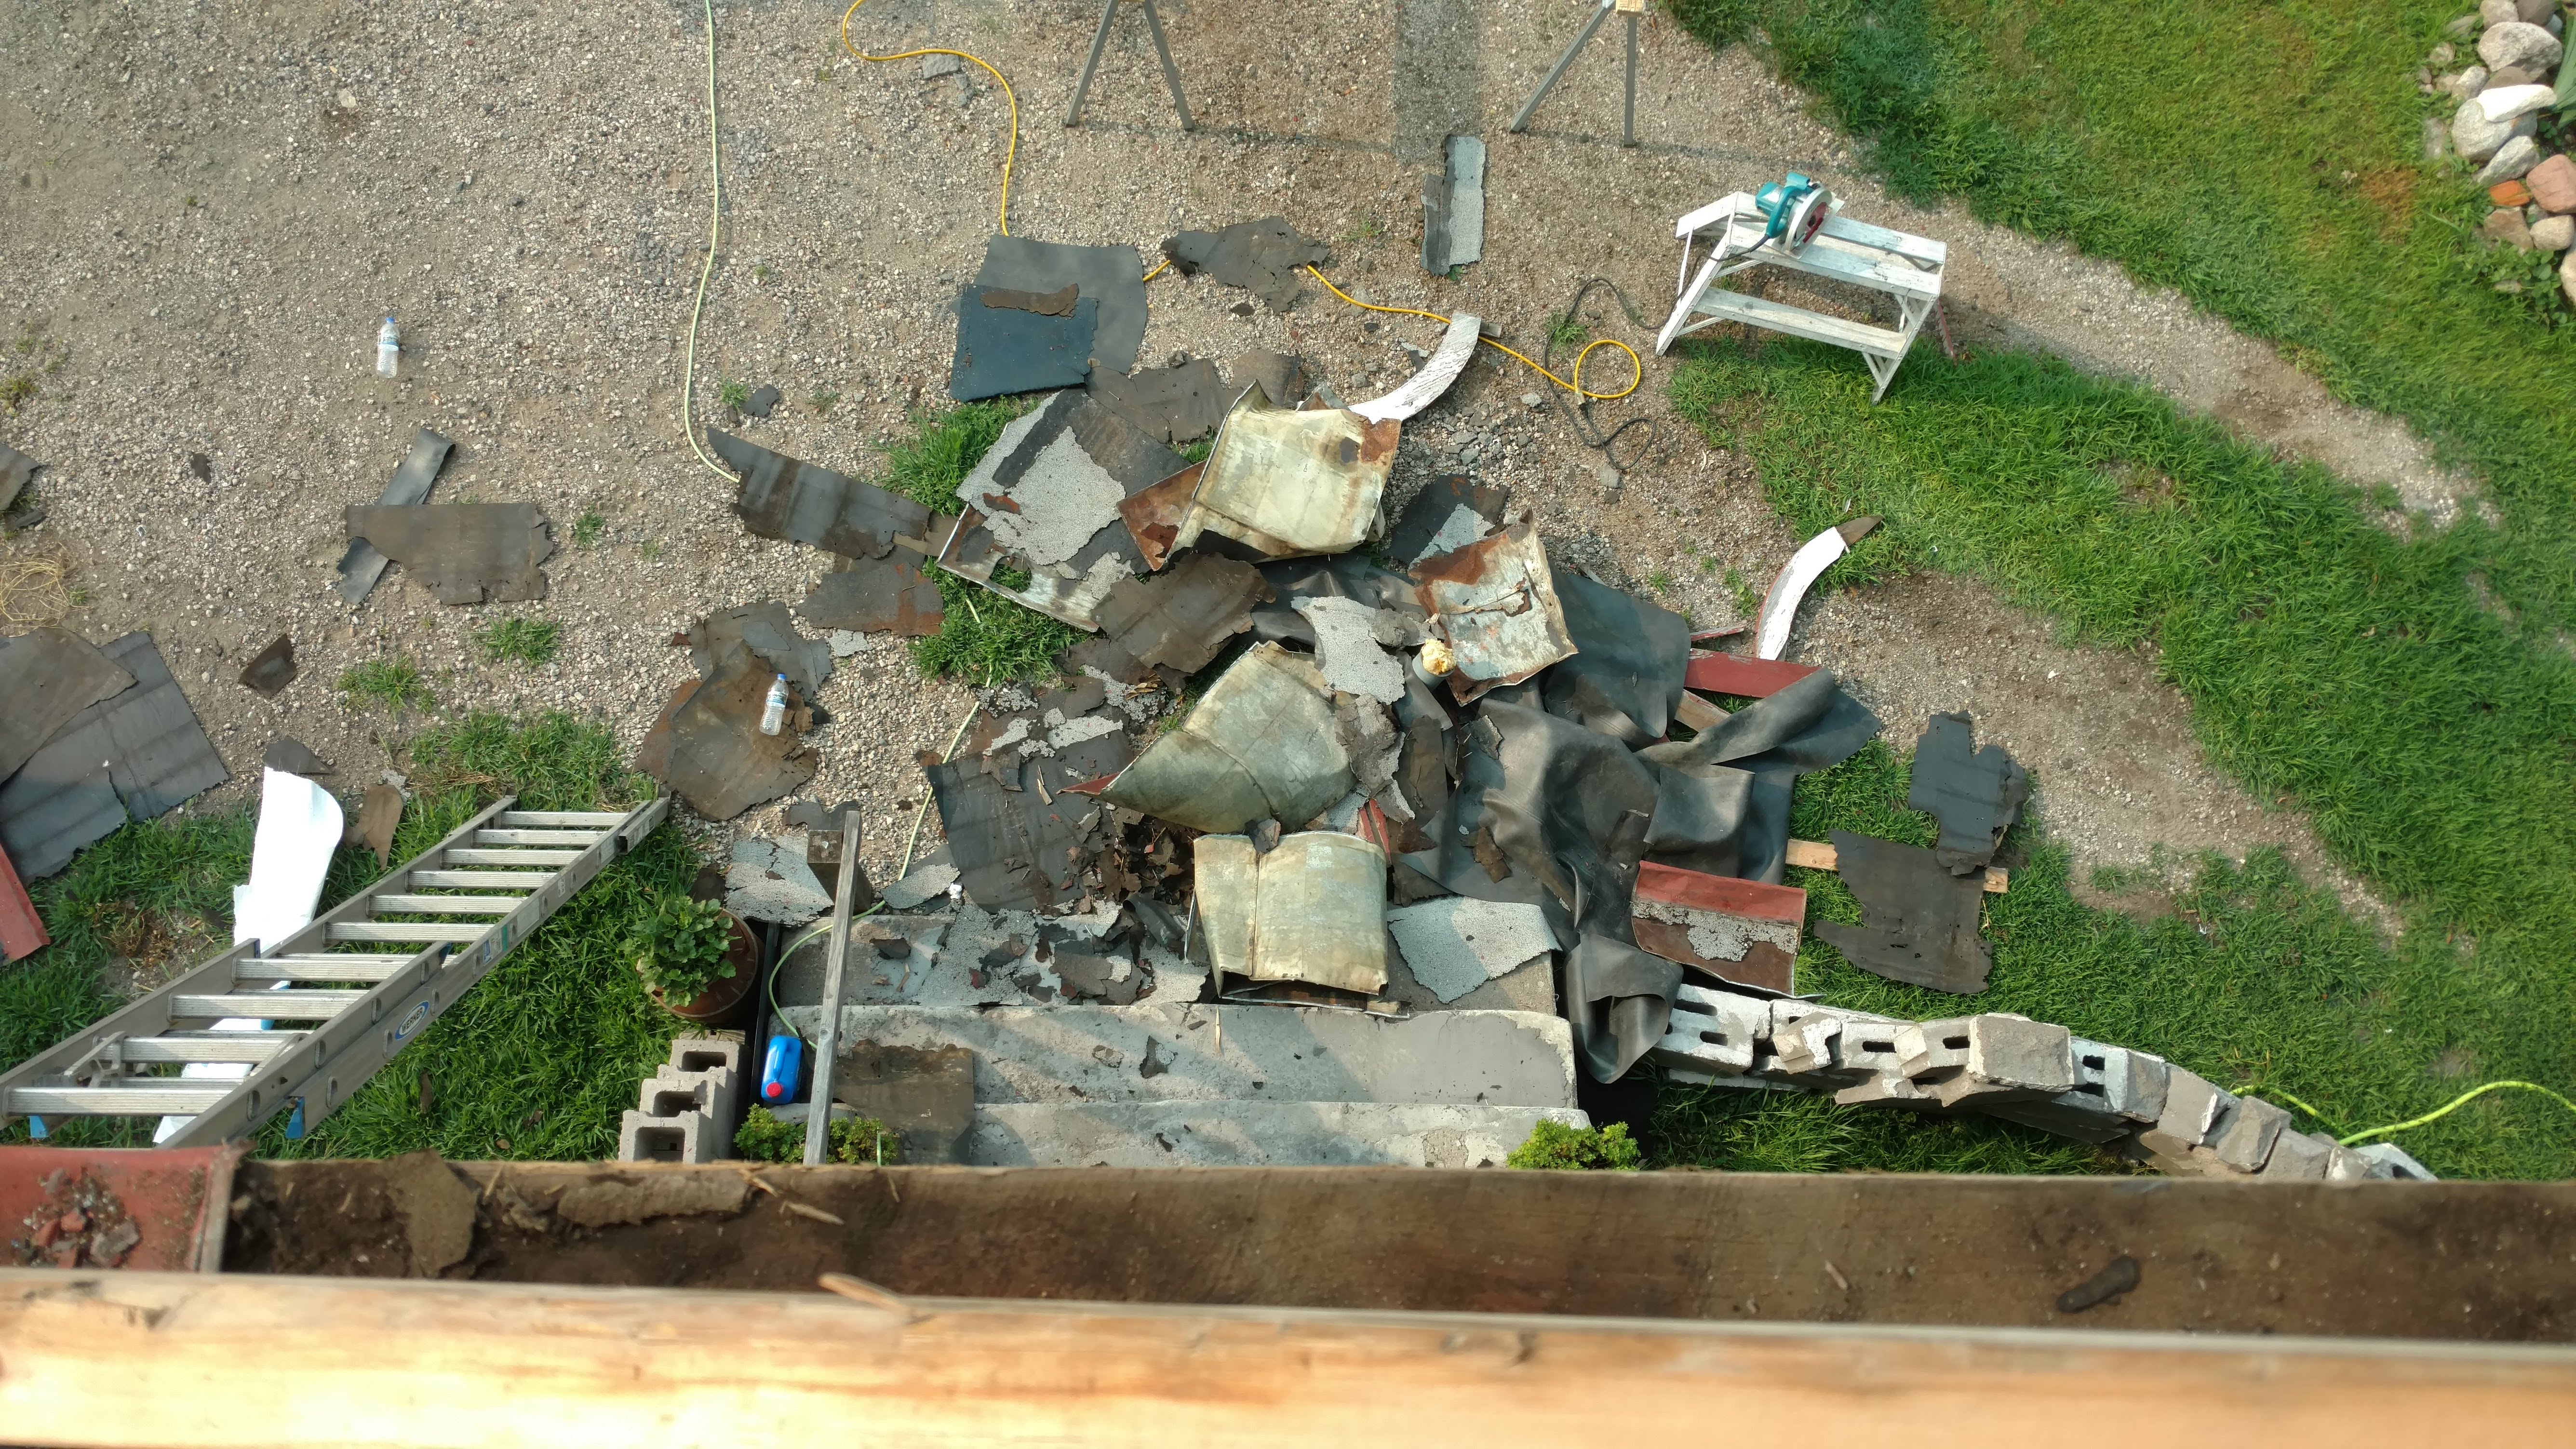
Looking down from the top, it looks like a really long way down there. Wait, it is a really long ways down there.
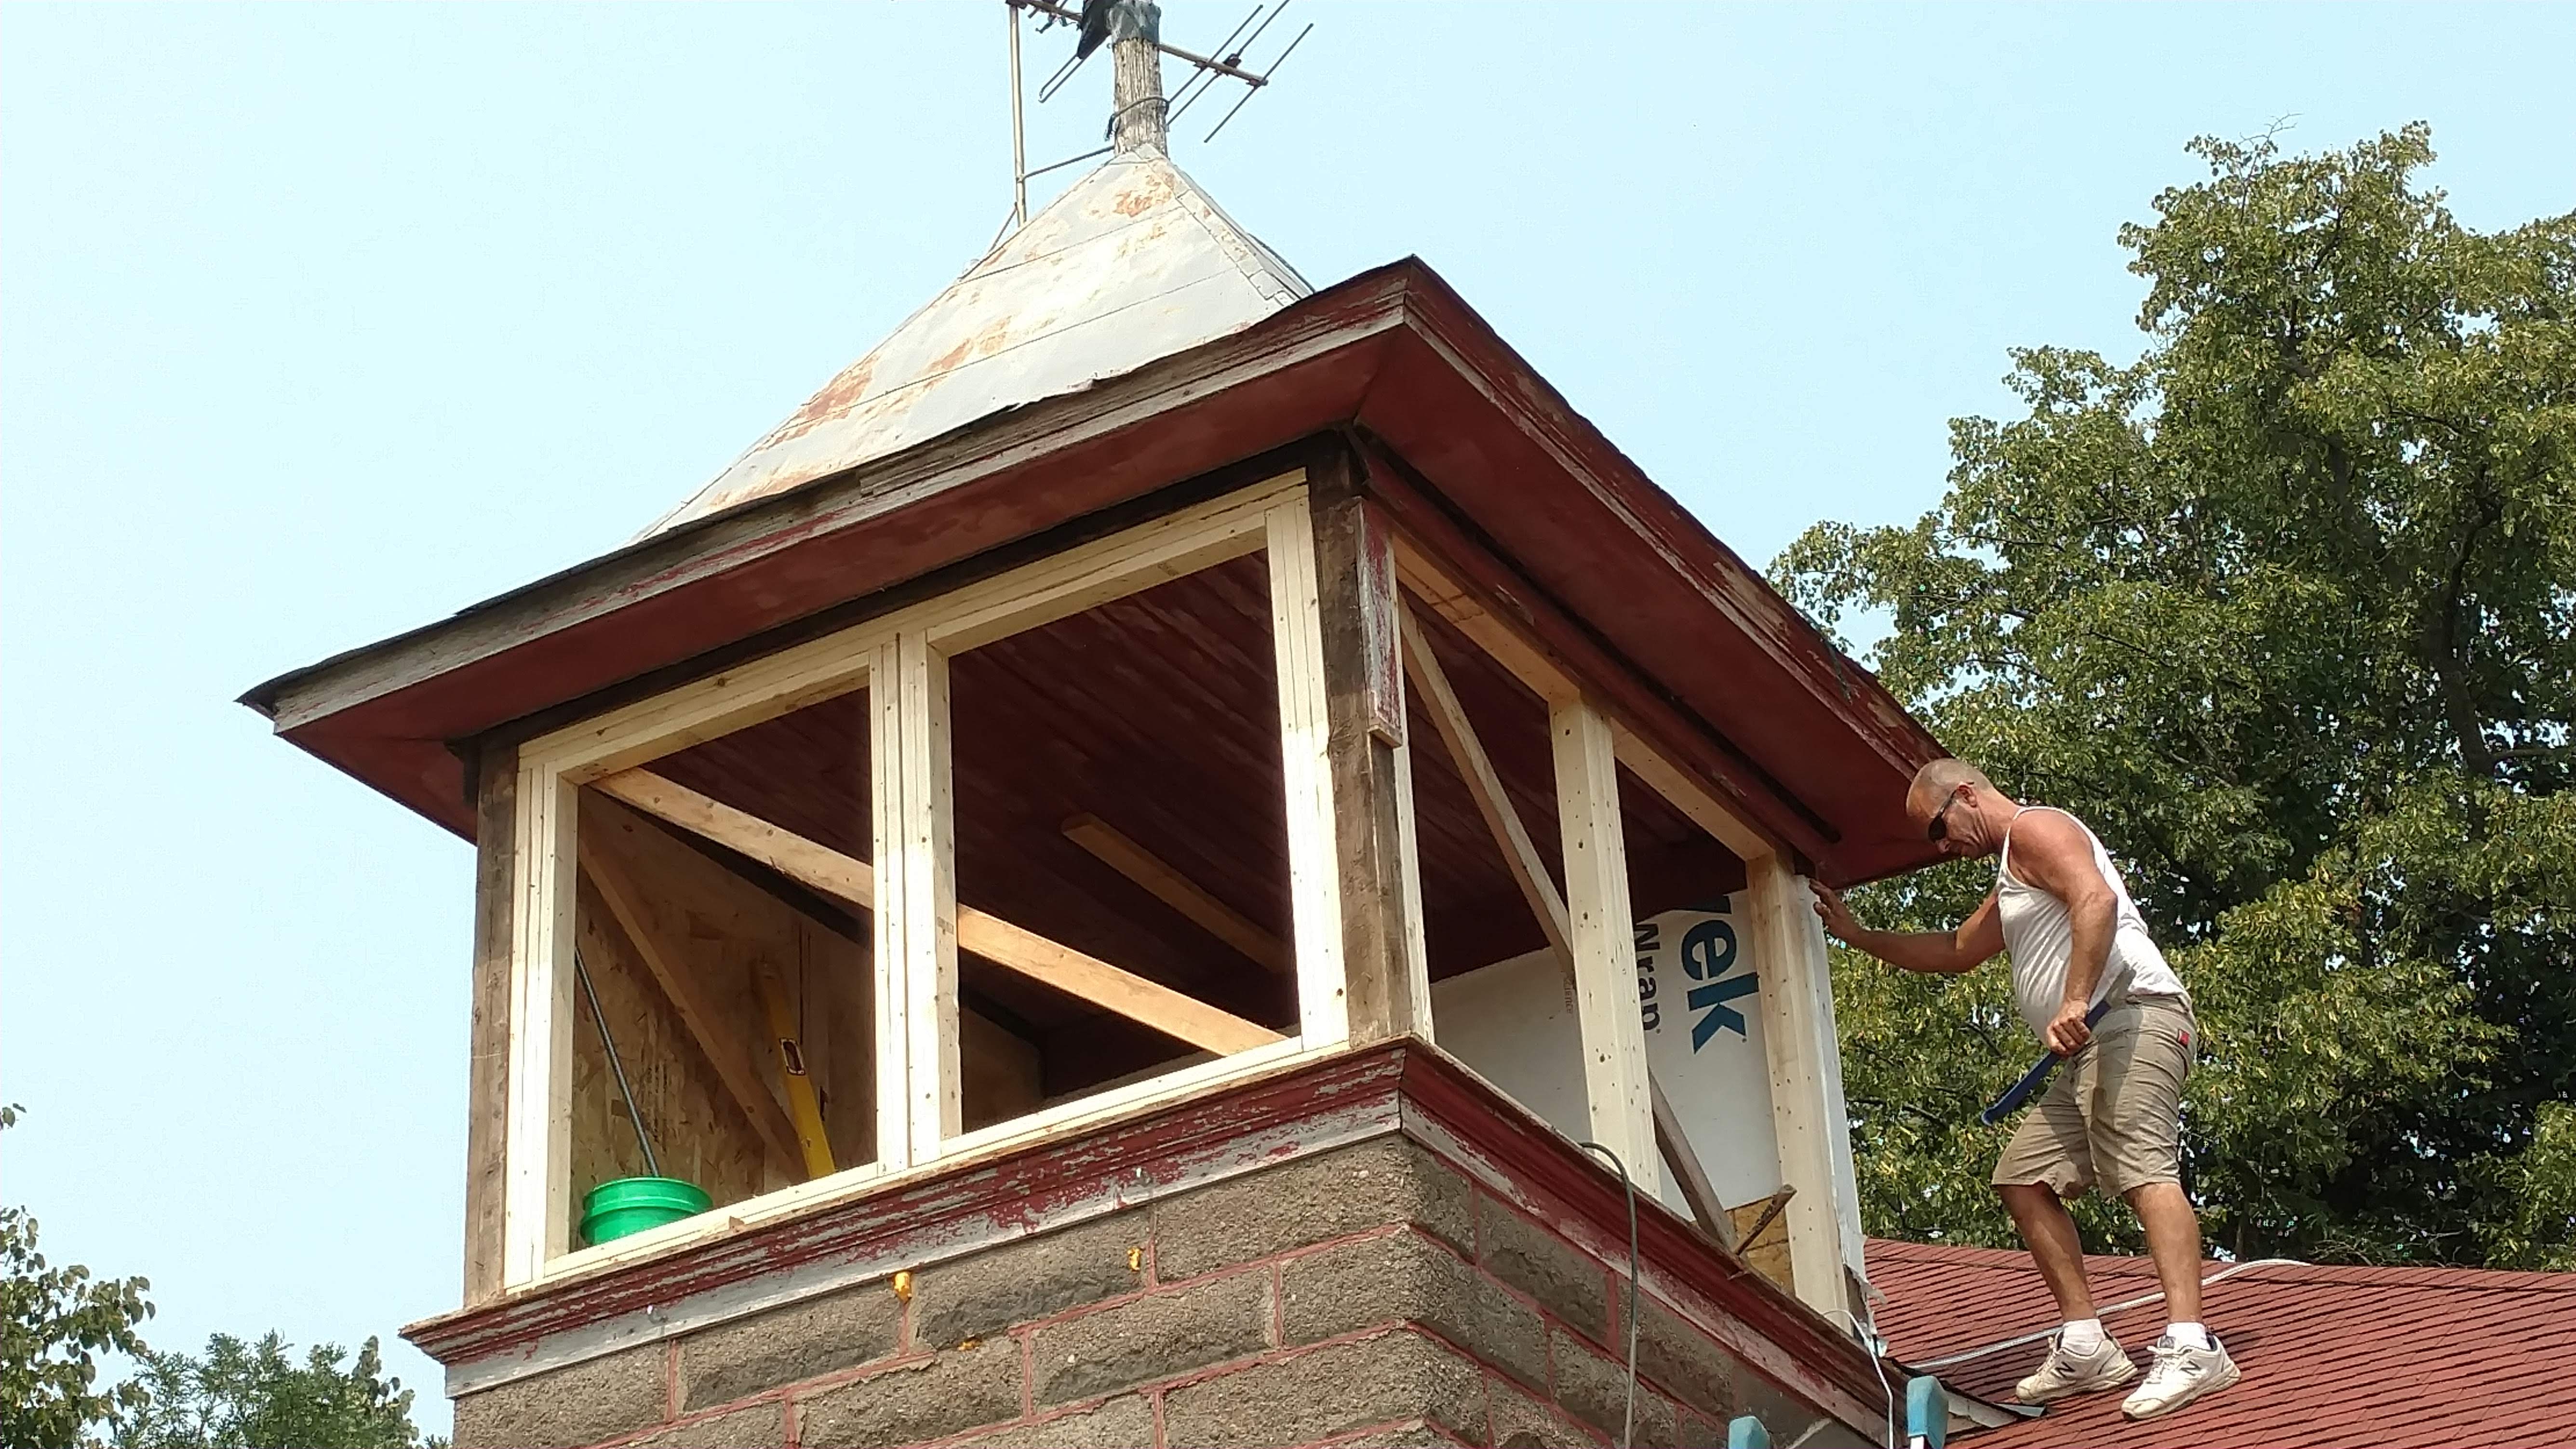
Anyway, once the old was out, the new went in. Square framing first. We took no chances that it would sway – thus the cross braces.
Then the plywood backing. The purpose is to give some structure to where we will place the windows, but it looks to me like the good old school has a blindfold on.
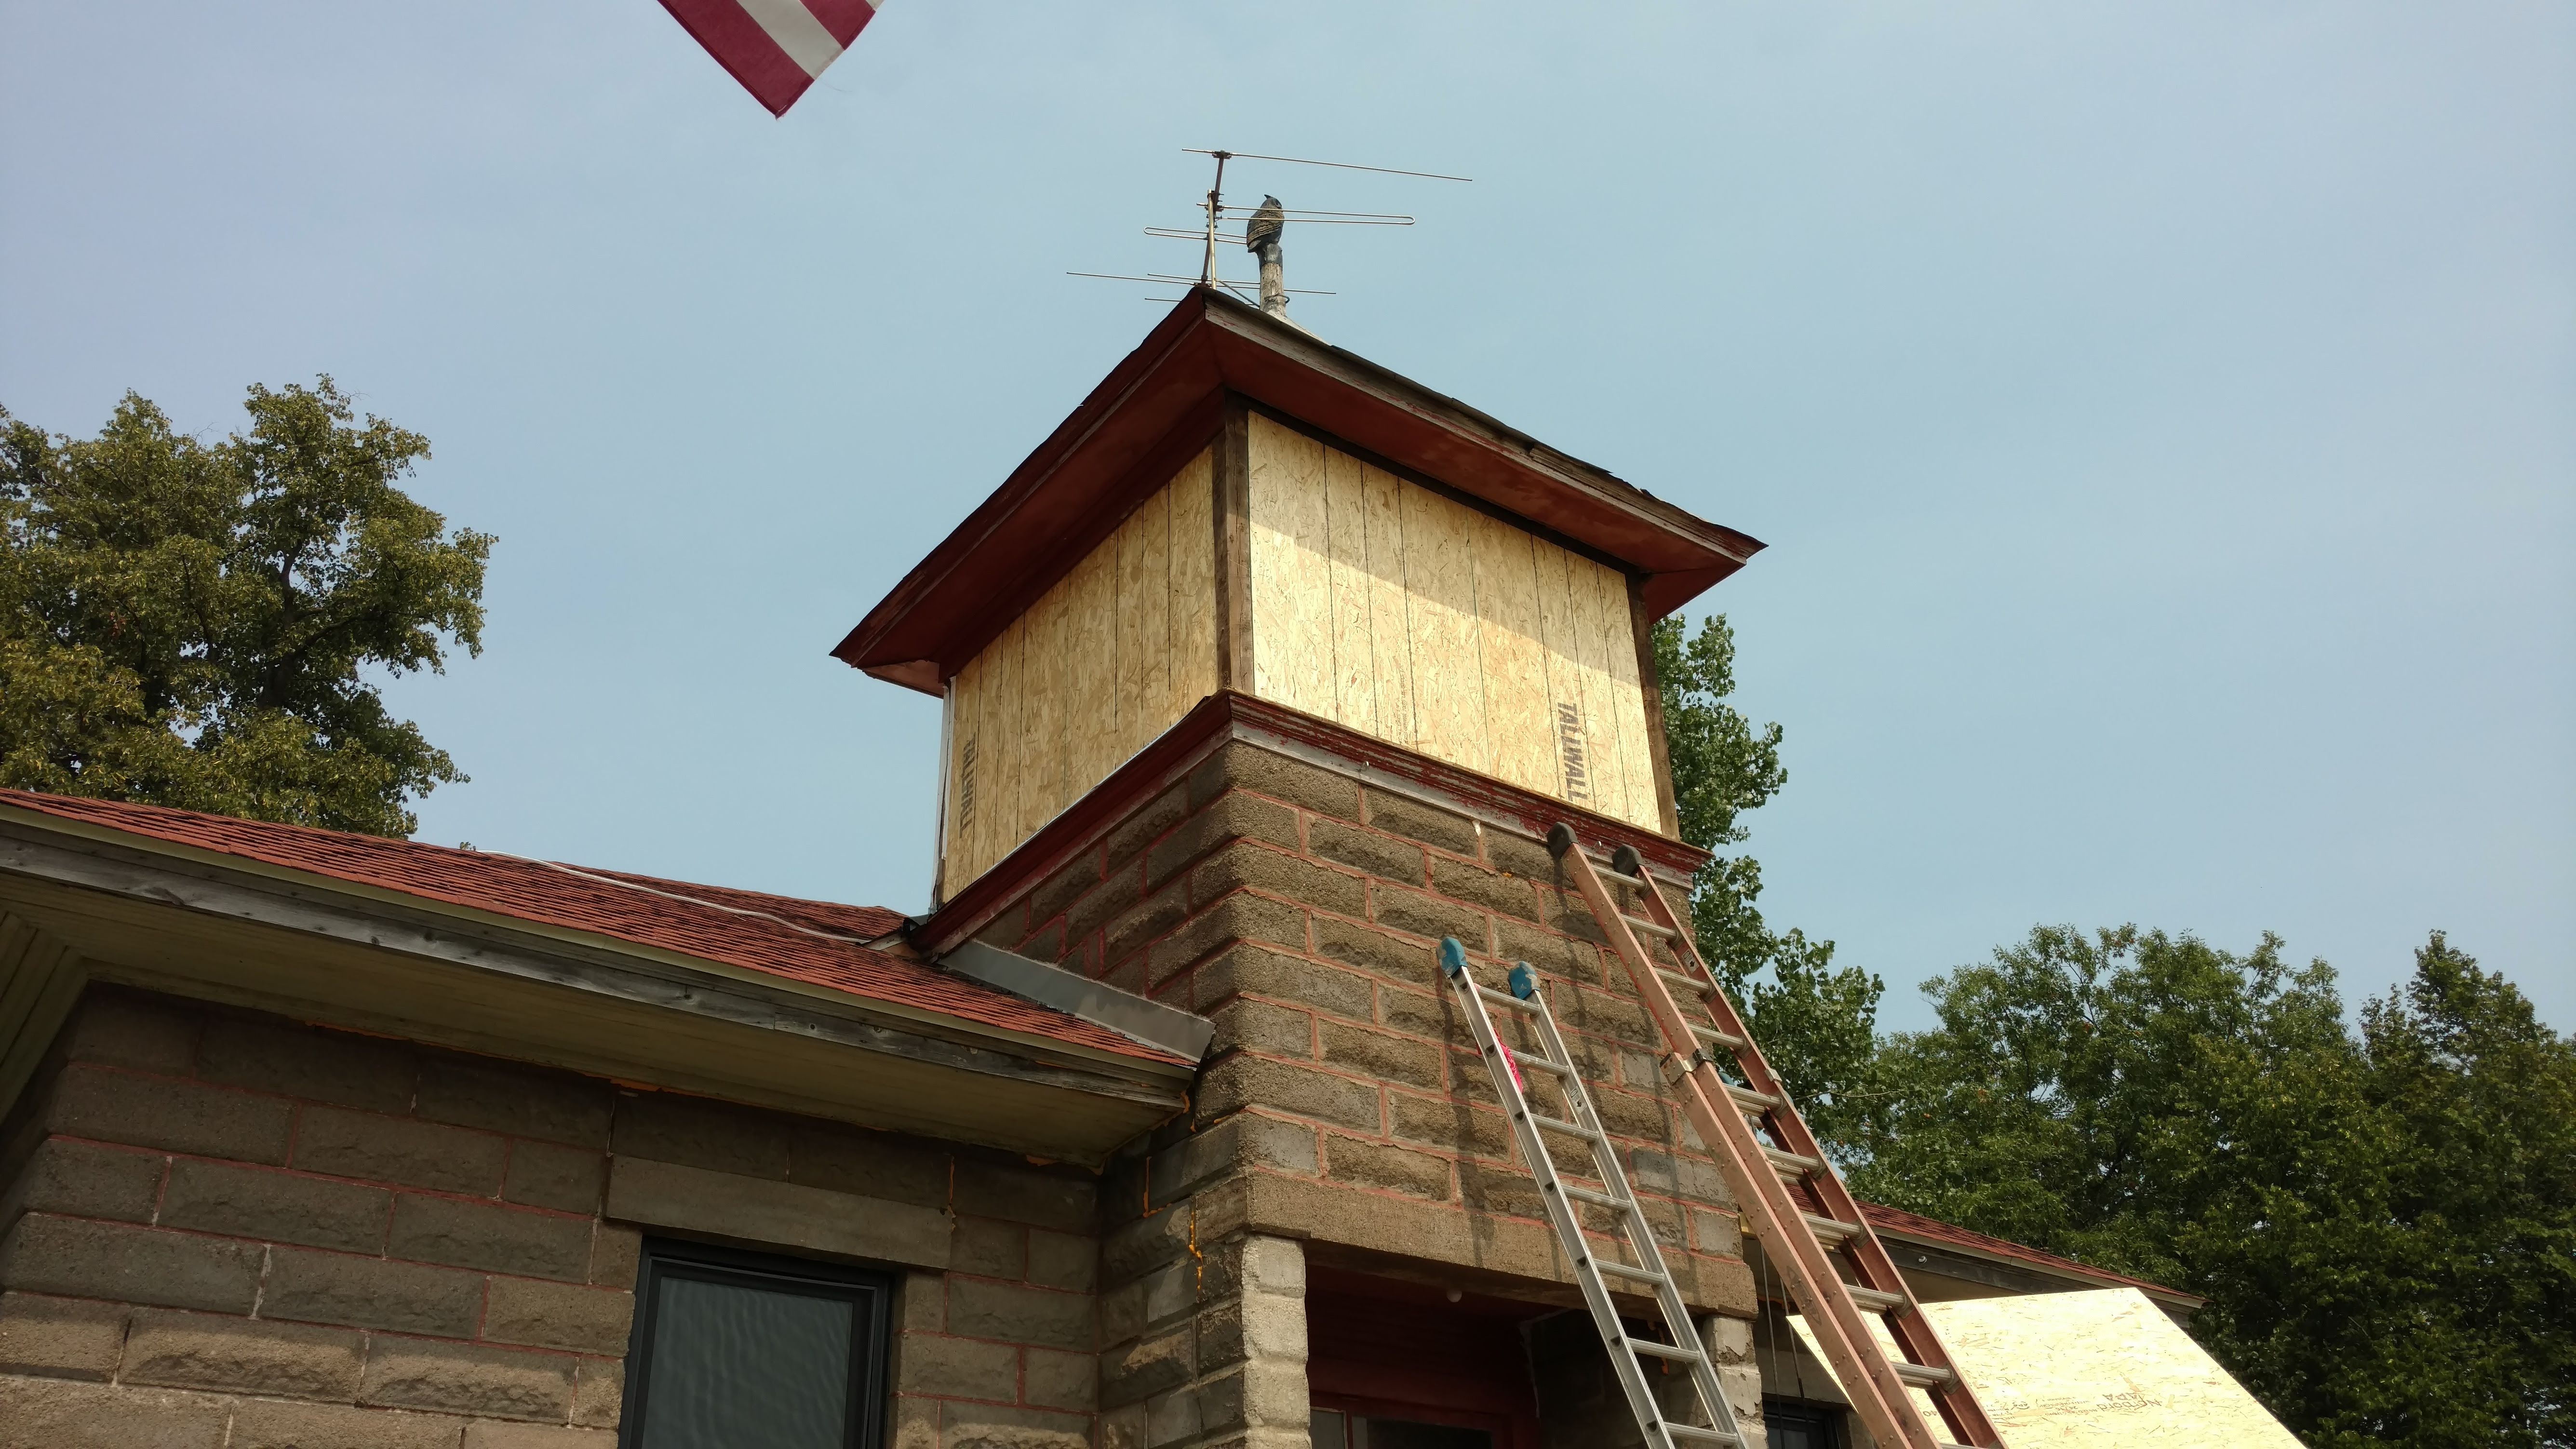
At this point, it was hot hot hot and I was so done.  Showers, nap and and an evening bonfire were all we could accomplish. Thank goodness for friends who stopped by!
Next morning, cutting out the shapes
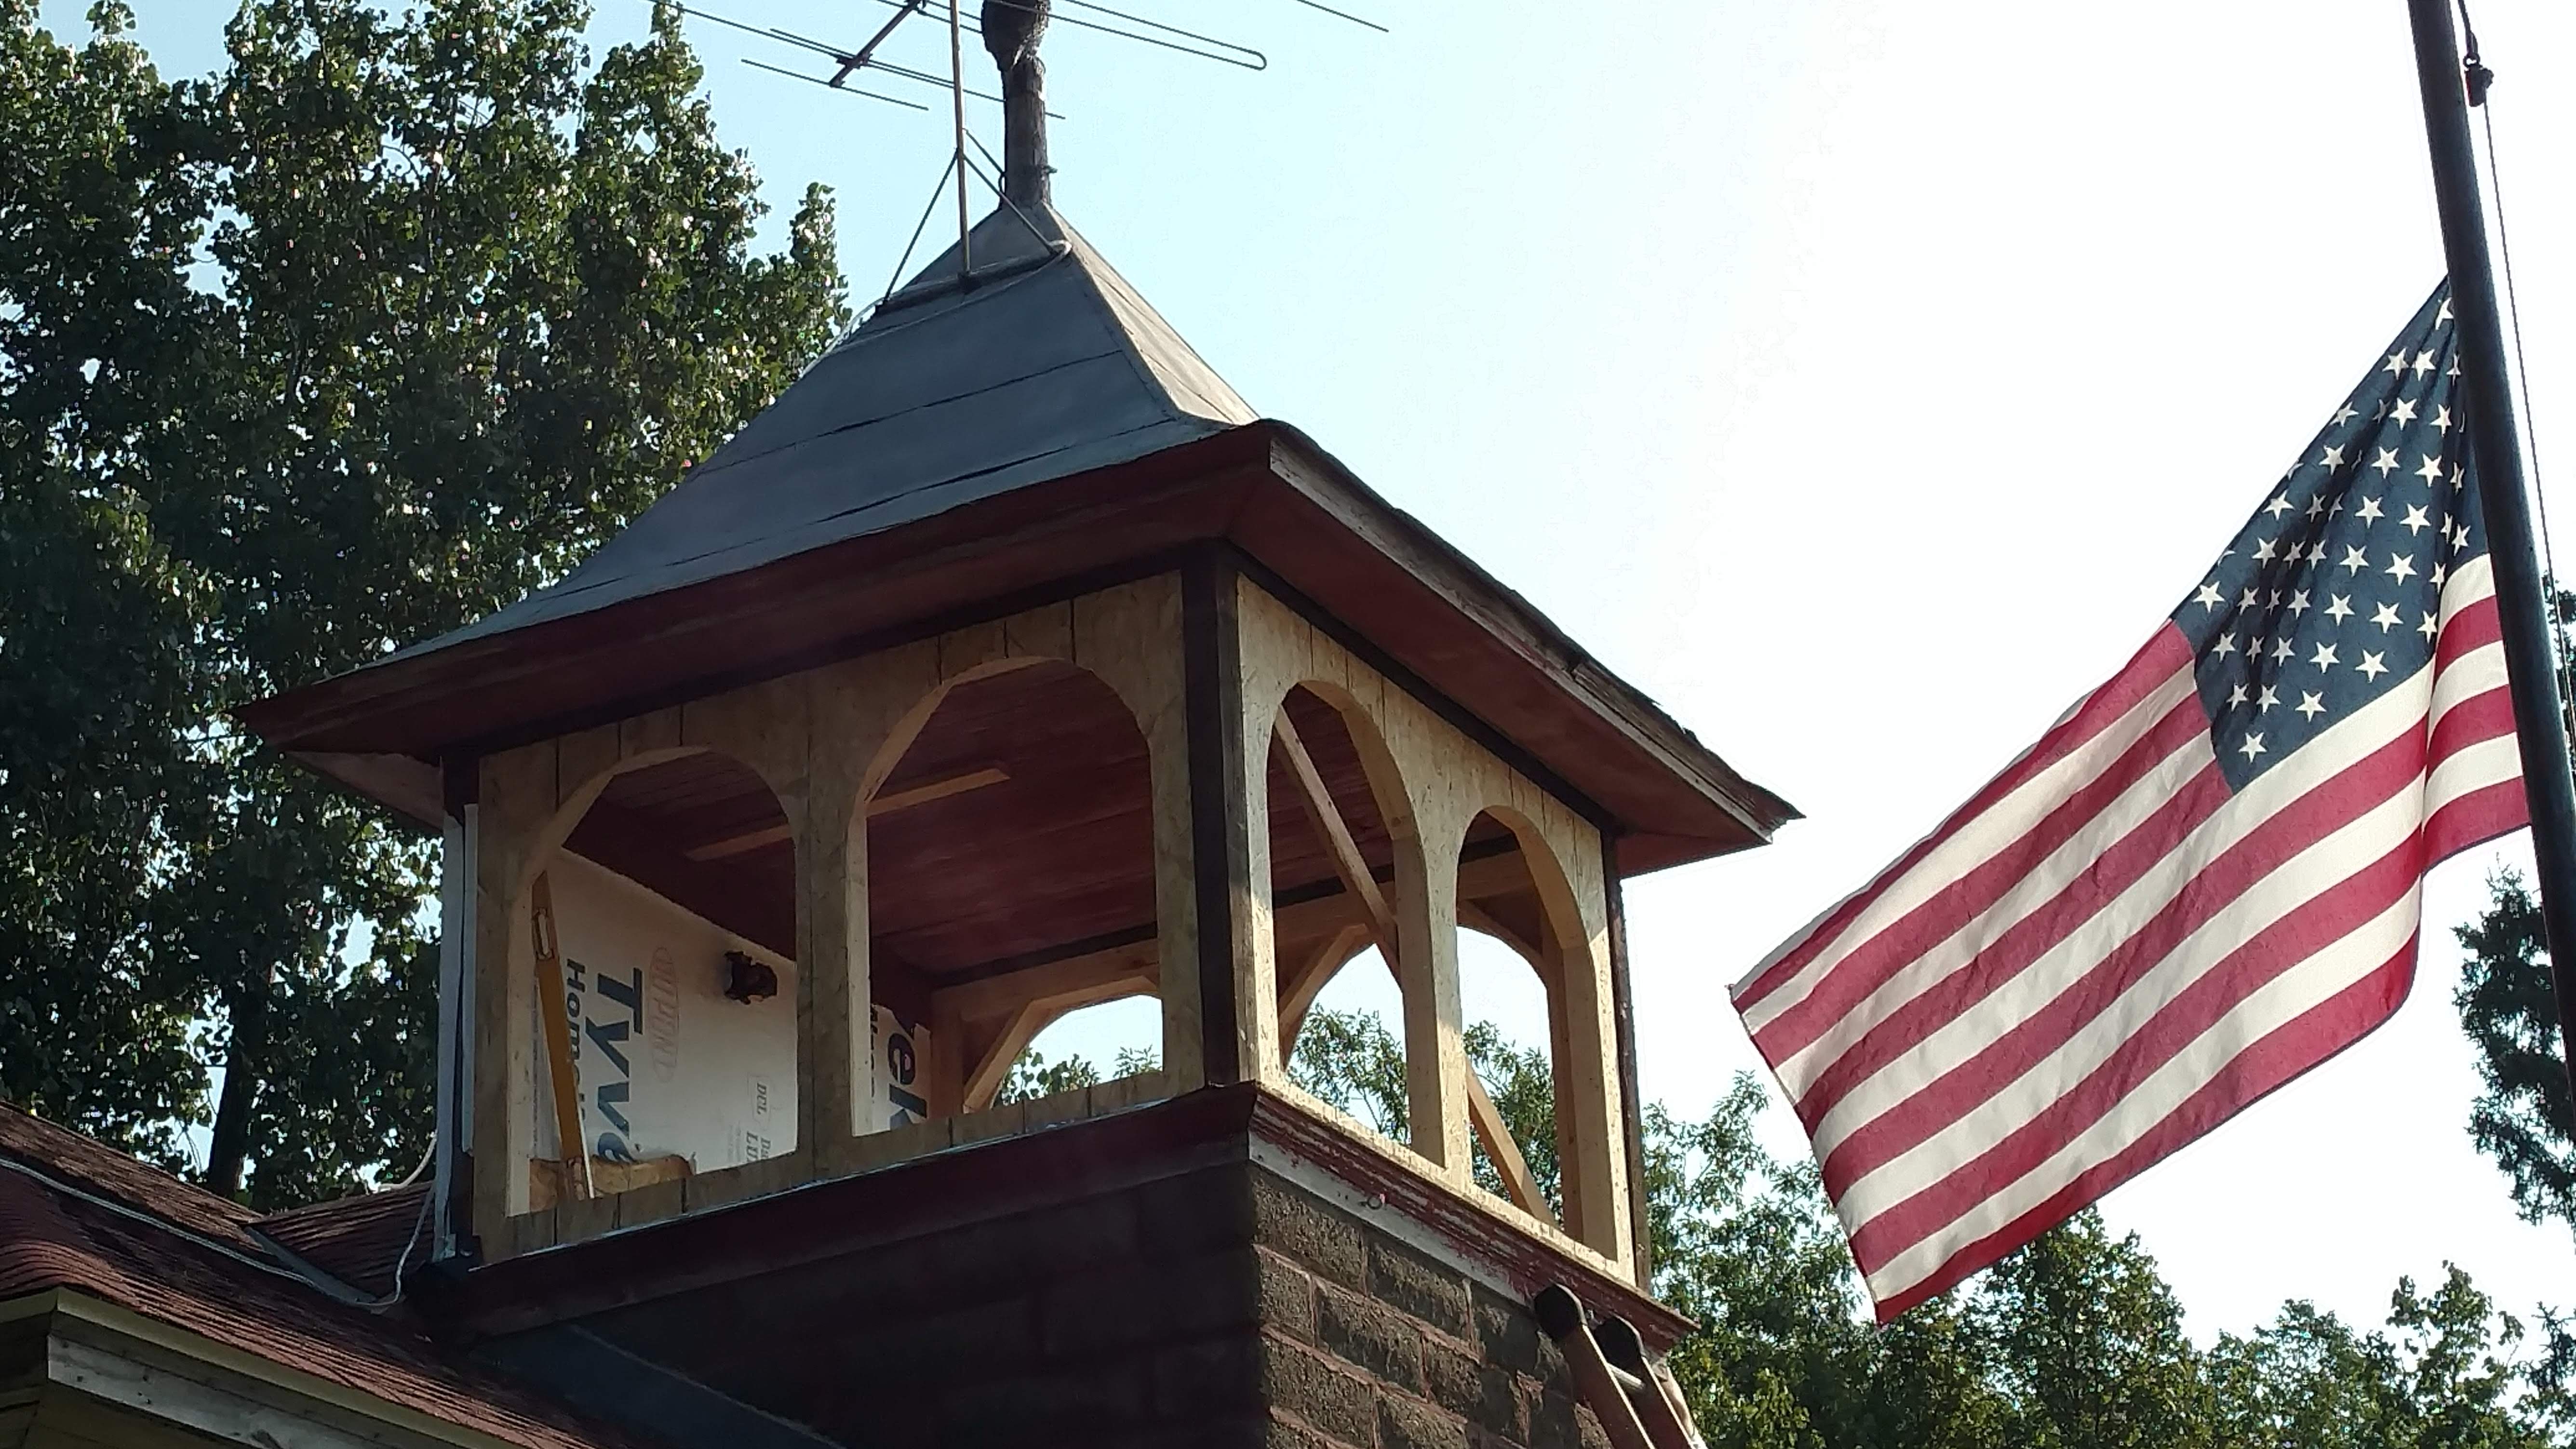
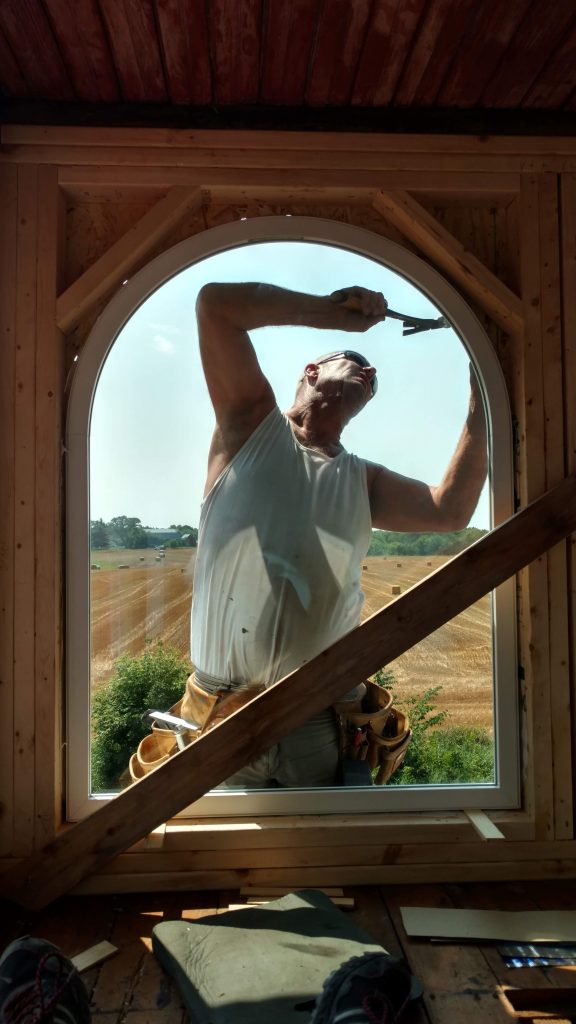
…and bringing up the windows. This was the part that gave me the most angst and Kevin the most demanding work.
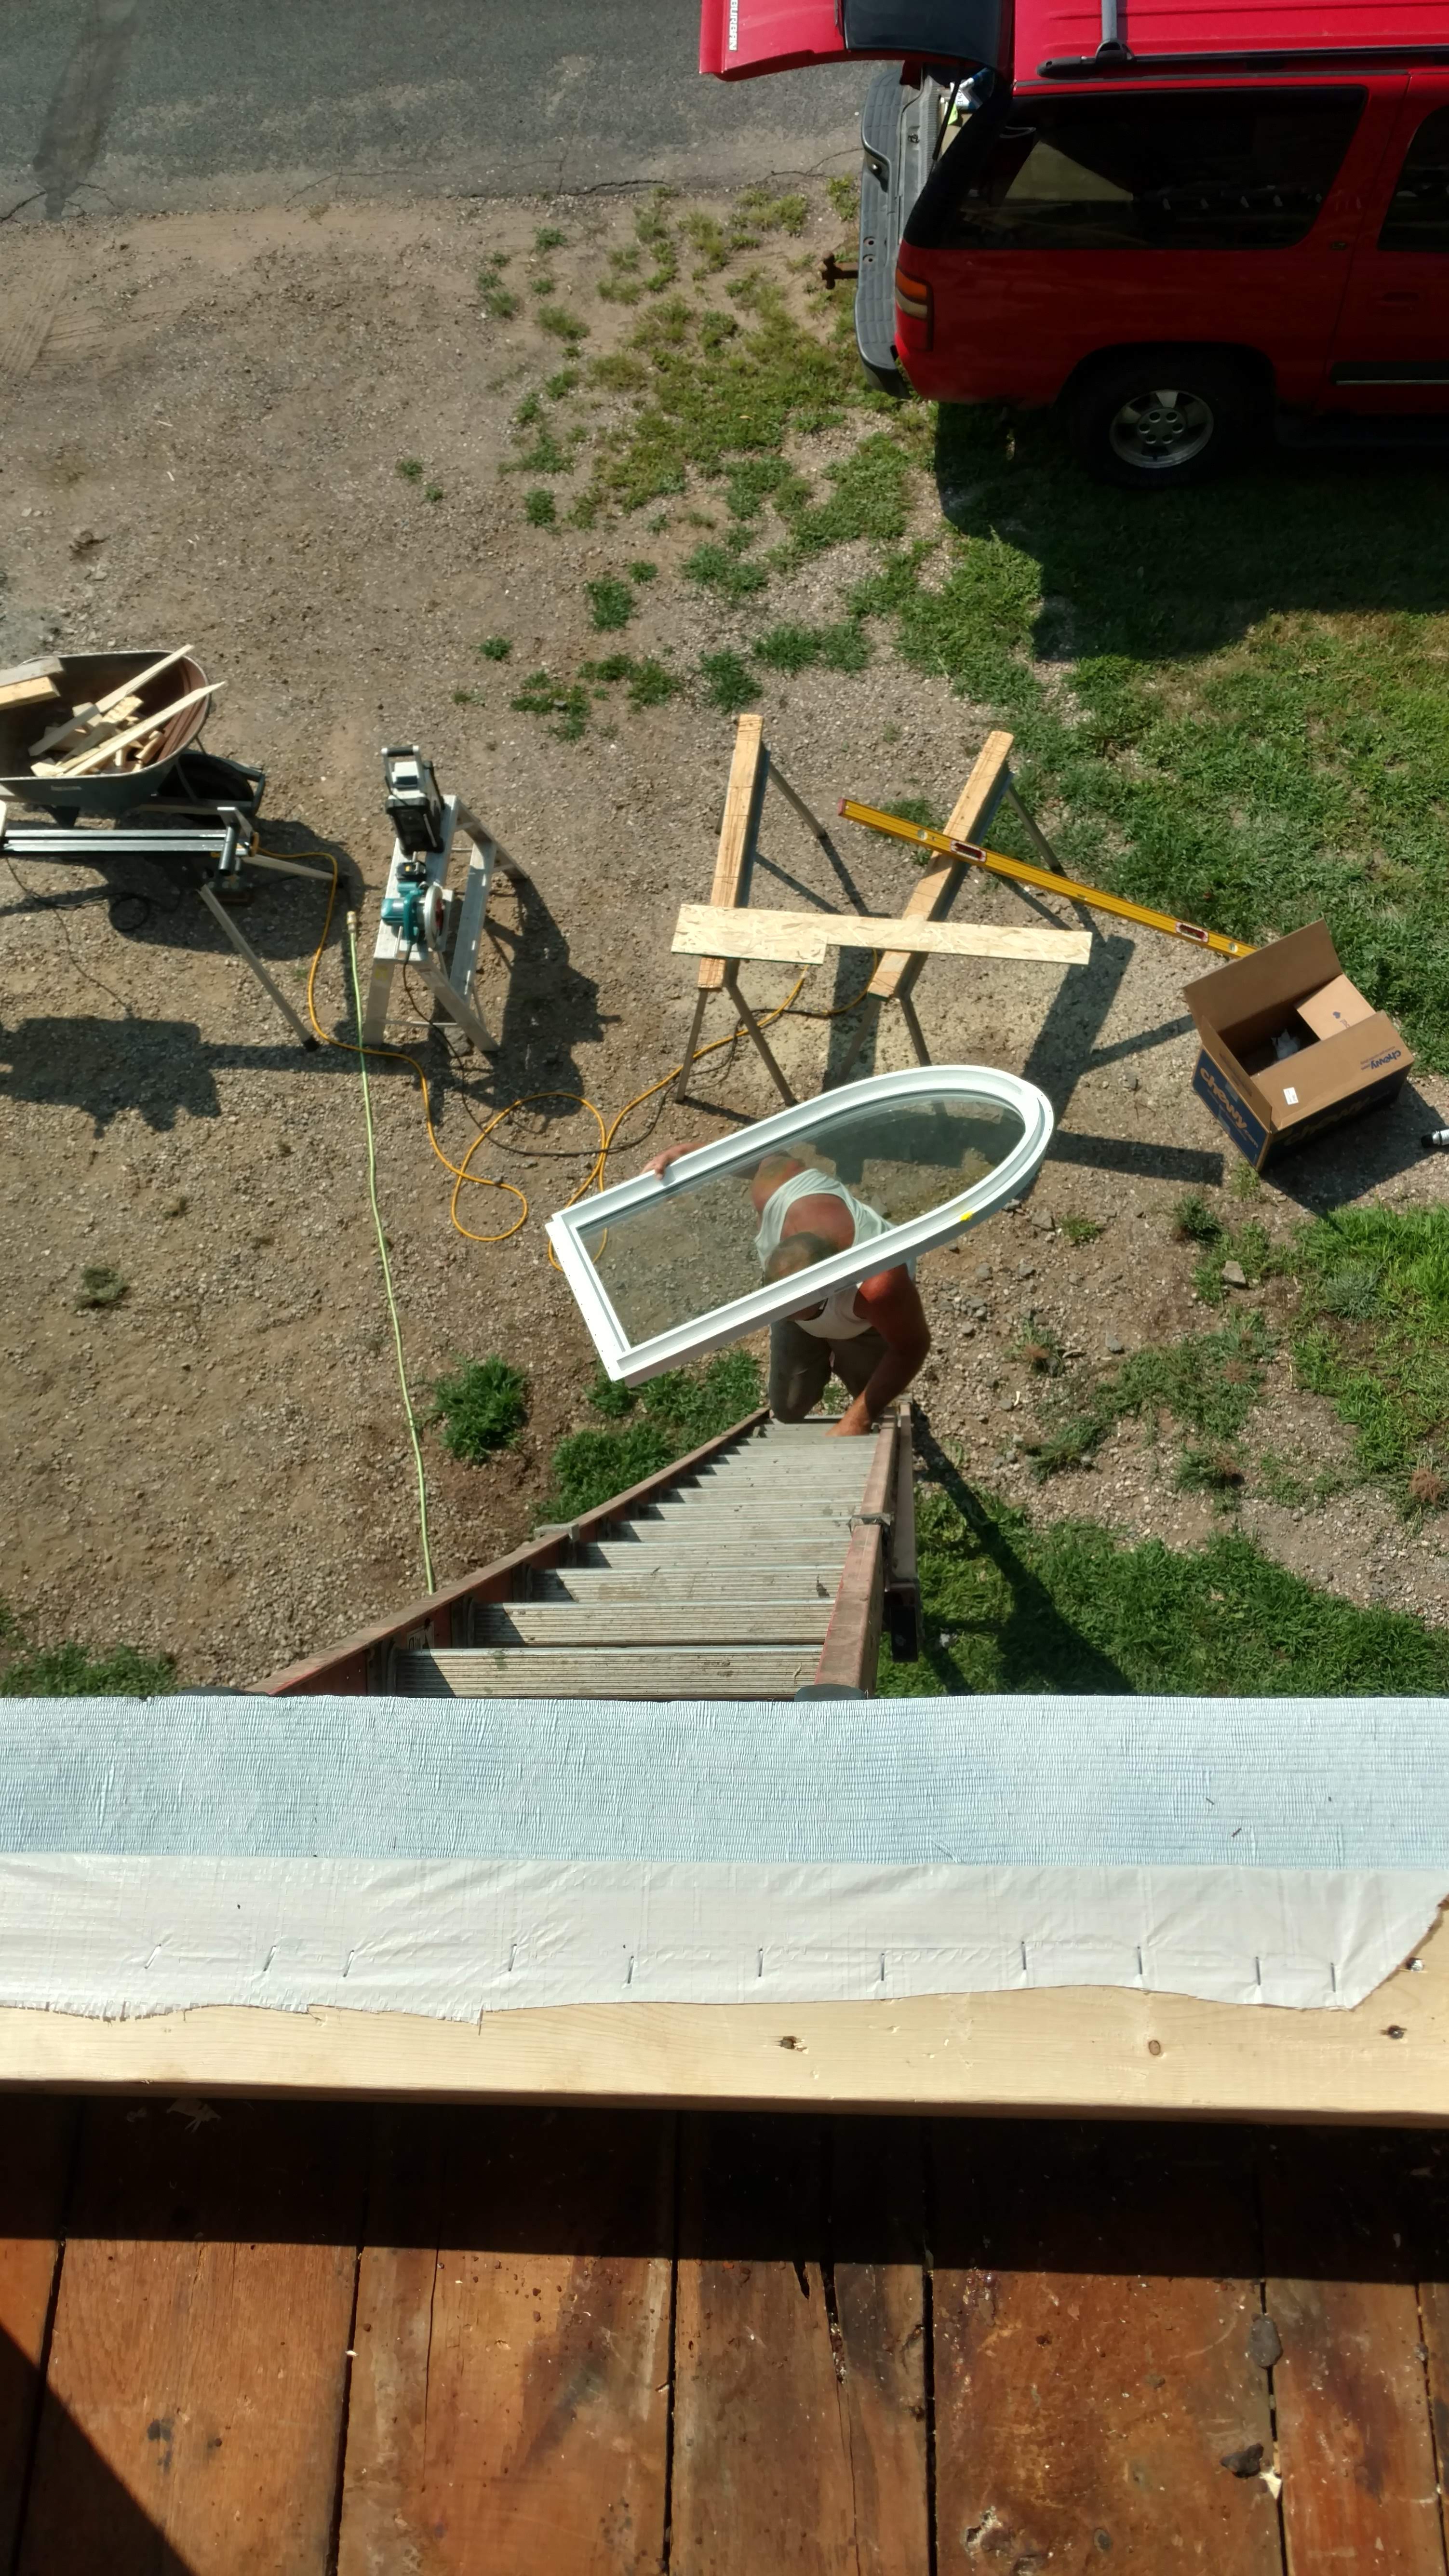
I can’t believe this worked! 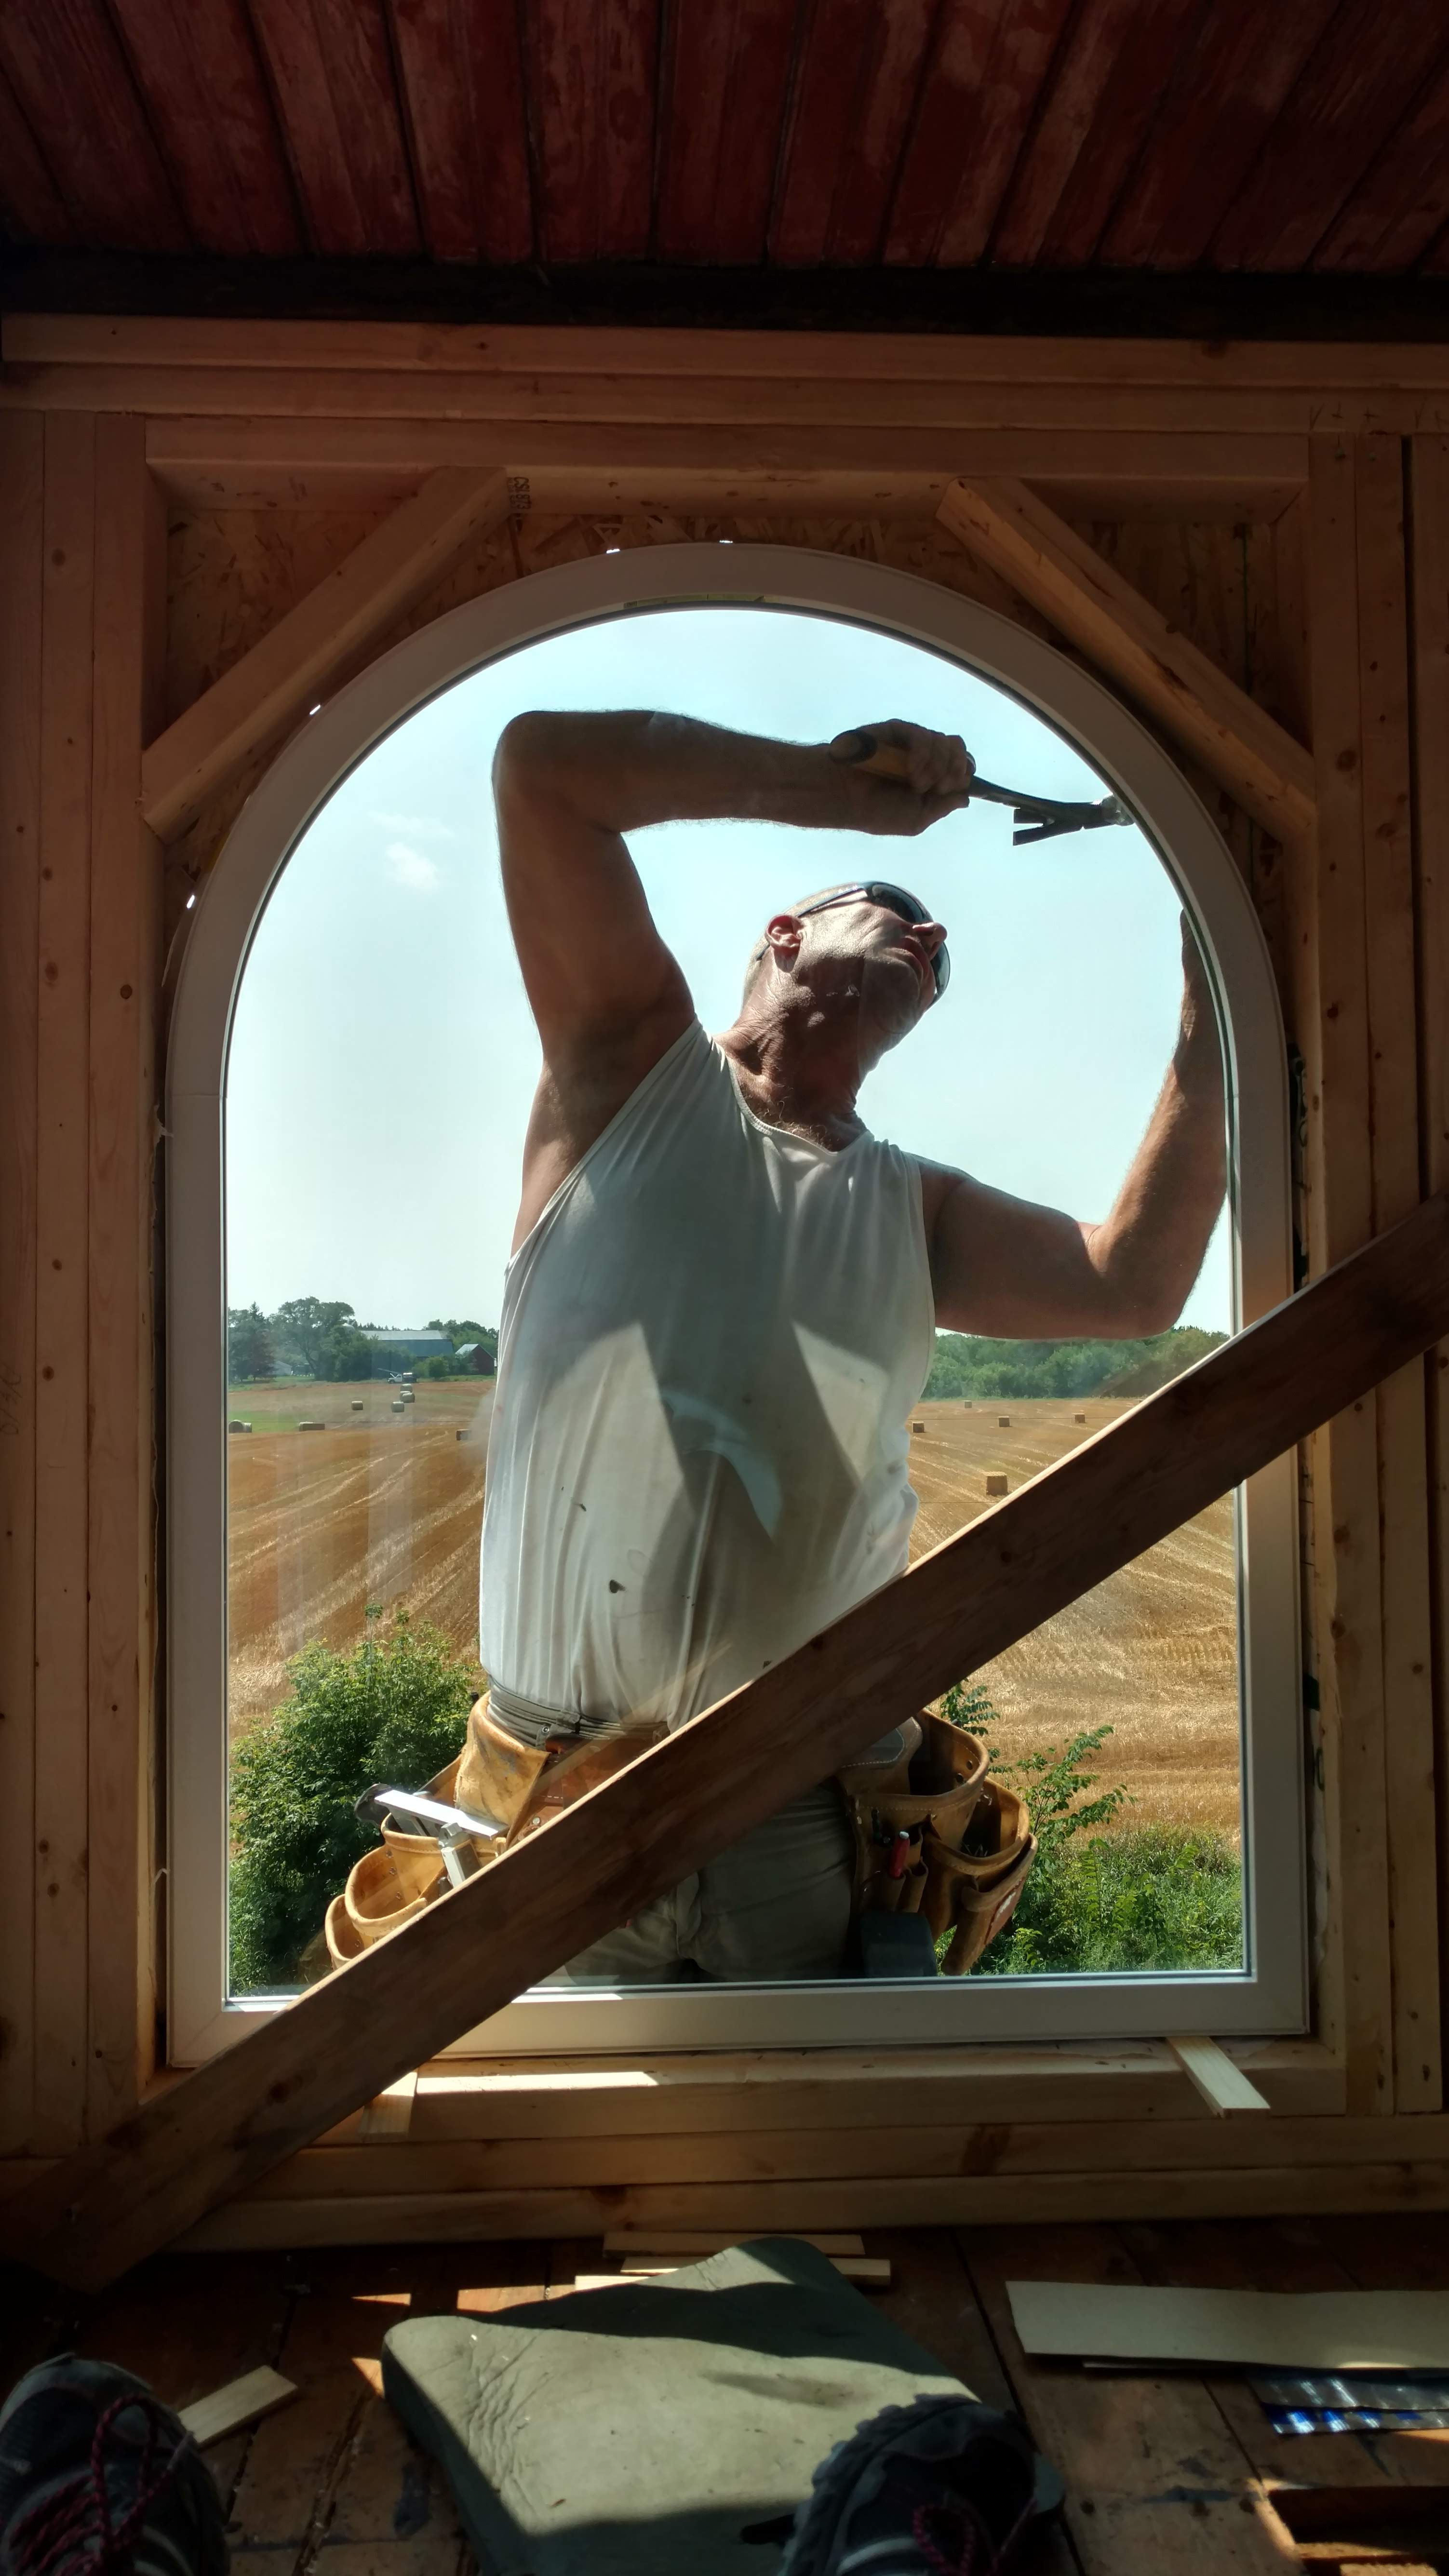
I think this could be a great new
logo-pic!
And just like that, they’re in. It only took 4 years and 2 days (4 years talking about it and saving up, 2 days to do the work). Time to sit back and enjoy the view (till next weekend).


Thanks! It’s one of those jobs that is so hard while you are doing it, but feels so good once it’s done.
It looks fantastic! Well done!